
How to Make a Bridal Bouquet with Artificial Roses (Step-by-Step)
Making your own bridal bouquet is one of the most satisfying wedding DIY projects there is — and with artificial roses it's genuinely low-risk. You can build it weeks early, redo any stem you don't like, and keep the finished bouquet forever. This guide walks through the whole process step by step, using the 25-stem real-touch foam rose sets we sell, though the technique works with any good stemmed artificial roses.
What you'll need
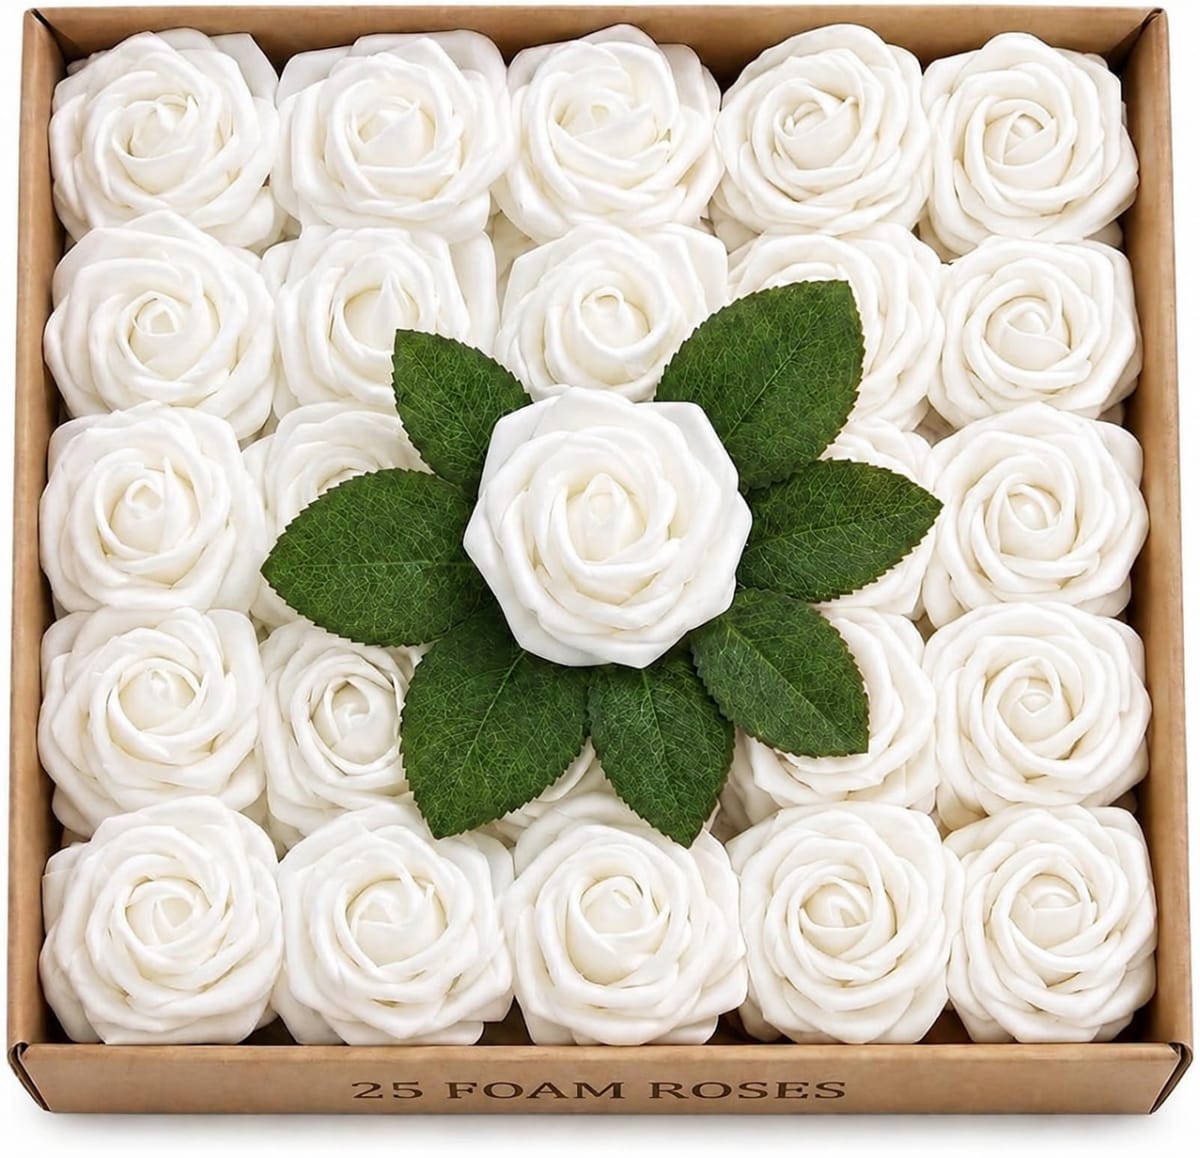
- 20–30 stemmed artificial roses — one 25-stem set makes a full-size bridal bouquet; posies use 12–18. Our quantity guide covers bridesmaids and centrepieces too.
- Floral tape (green or white) for binding the stems.
- Ribbon — 1.5–2 metres of satin or organza for wrapping the handle.
- Pearl-head pins to secure the ribbon end.
- Sharp wire cutters — foam-rose stems are wired, so scissors won't cut them cleanly.
- Optional: eucalyptus or gypsophila sprays for filler, and a stem of greenery for collaring the edge.
Step 1 — Choose your roses and colours
Decide on your palette before you start building. A single colour reads classic and formal; two colours (say blush + ivory) reads soft and romantic; a bold accent colour every 4–5 stems reads modern. If you're unsure, our colour guide walks through matching roses to dresses and themes. Make sure every set you use is the same material — mixing foam and silk roses in one bouquet is noticeable up close. If you're choosing between stem types, this project needs stemmed roses; see stemmed vs stemless for where heads-only sets fit instead.
Step 2 — Prepare each stem
Take every rose out of the box a day ahead and let any packing creases relax. Then work through the set one stem at a time: cup the outer petals gently outward and vary how far each bloom is "open" — a real bouquet never has 25 identical roses. Bend the top 3–4 cm of each wired stem very slightly; perfectly straight stems make a stiff-looking dome.
Step 3 — Build the focal cluster
Start with three roses held together at slightly different heights — the middle one about 2 cm proud of the other two. This is the heart of the bouquet and sets its height. Hold the stems where they naturally cross, about 15–18 cm below the blooms; that crossing point becomes the binding point for the whole bouquet, so keep your grip there from now on.
Step 4 — Spiral in the remaining stems
Add one rose at a time at an angle, always laying the new stem across the others in the same direction, and turn the bouquet a quarter-turn in your hand after each addition. This is the florist's spiral: it's what makes the finished bouquet round, balanced, and comfortable to hold. Keep checking the top-down view in a mirror — you're aiming for an even dome with no gaps. If a bloom sits too low, don't force the stem: pull it out and re-place it. Artificial stems forgive endless re-dos, which is exactly why this is easier than working with fresh flowers.
Step 5 — Bind the stems
When the shape is right, bind the crossing point tightly with floral tape: three or four wraps, stretching the tape slightly as you go so it grips. Then wrap a second band about 8 cm lower to stop the handle splaying. Test the bouquet one-handed — it should feel like a single solid stem.
Step 6 — Trim the handle
Use wire cutters to trim all stems to one length — 18–20 cm below the binding point suits most hands. Cut a few millimetres at a time; you can't add length back. Angle the cutters around each wired stem rather than crushing straight through.
Step 7 — Wrap the ribbon
Tuck the ribbon end under itself at the top of the handle and wrap downward in overlapping turns, keeping the tension even, then back up if you want a double layer. Finish at the top with a neat fold and secure it with two or three pearl-head pins pushed in at a downward angle so they never work loose against the dress. For a soft look, leave 30 cm tails and trim them into a V.
Step 8 — Final shaping and the overnight test
Hold the bouquet at arm's length in front of a mirror and adjust individual blooms — this is where varying the petal openness in Step 2 pays off. Then stand it in a dry vase overnight and look again with fresh eyes; you'll always spot one rose to nudge.
Transport and storage
On the day, carry it flat in a box padded with tissue — never bloom-down. Afterwards, display it as a keepsake or store it in a lidded box away from direct sunlight; foam roses hold their shape and colour for years. For moving centrepieces, arch pieces and the rest of your flowers in one trip, see our guide to transporting wedding flowers. A gentle dust now and then is the only care it needs — see how to clean artificial flowers.
Common mistakes to avoid
- Binding too high — grip and tape 15 cm+ below the blooms or the heads can't fan into a dome.
- Identical blooms — skip Step 2 and the bouquet looks manufactured in photos.
- Adding stems vertically instead of spiralling — the result is a tight, flat-topped bundle.
- Cutting the handle before the shape is final — always trim last.
- Leaving it until the week of the wedding — the whole point of artificial flowers is that you can finish this a month early.
Final checklist
- Roses prepared and varied ✔
- Spiral built and even from above ✔
- Bound at one tight point ✔
- Handle trimmed to 18–20 cm ✔
- Ribbon wrapped and pinned ✔
- Overnight check done ✔
One 25-stem set of real-touch foam roses is enough for the full bouquet in this guide — and because the colours are consistent between sets, matching bridesmaid posies later is straightforward.